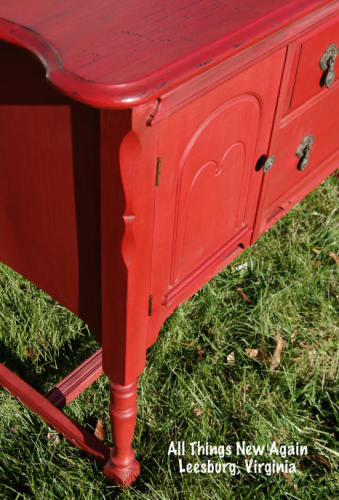
We’ll get to the blah-blah-blah on how I painted this vintage red buffet in a minute, but for now let’s go straight to the “after” pictures. Here it is!
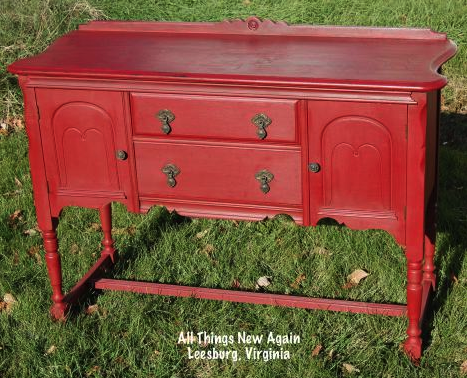
I (FINALLY) love this buffet. This buffet didn’t turn out as I originally planned when a weird seam mark appeared where two pieces of wood were joined together on the tabletop. My Plan B, Plan C and Plan D for this buffet weren’t so great either. I said a lot of bad words while working on this piece—but I learned an awful lot too.

OK, so I didn’t try 10,000 things, but here’s a quick rundown of what I did that didn’t work:
steamed off damaged veneer
sanded
painted
distressed
waxed
sanded again
decoupaged paper napkins
sanded some a lot more
gel stain
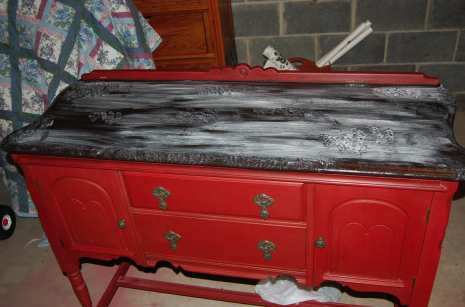
sanded yet again because …
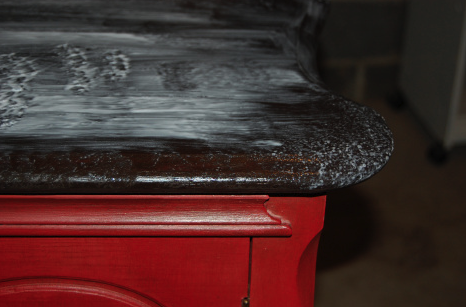
… the gel stain looked awesome from this direction (and it covered up the weird seam, hooray!)
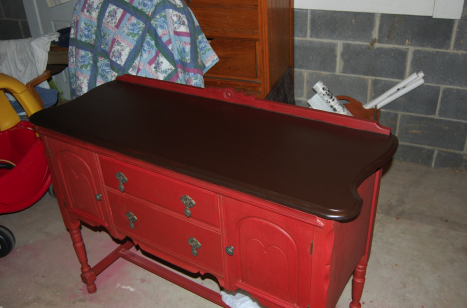
… but it looked splotchy down in the corner.
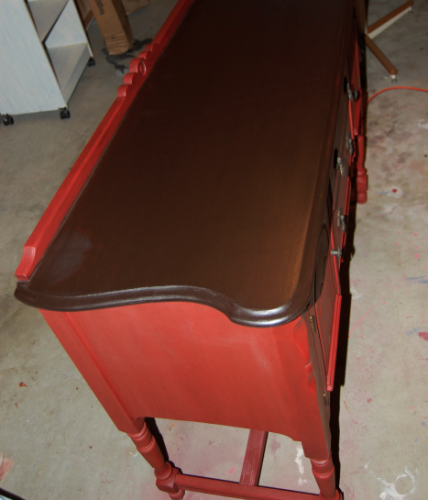
That isn’t the gel stain’s fault—it’s mine. My sander lingered a bit too long while trying to get rid of a few stubborn specks of the decoupaged napkins. The spot that sanded down all the way to bare wood did not take the stain the same as the rest of the tabletop that was sanded down only to the paint. It looked and felt different—and not in a good way.
I felt defeated.
That’s when I tried one last idea (and came up with a catchy quote of my own!)
OK—so my quote isn’t as profound as any of Mr. Edison’s, but the idea worked.
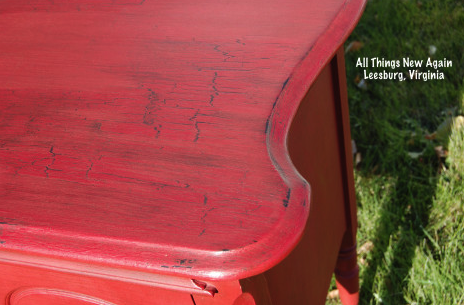
Crackling gives your piece
an aged look and a little extra texture.
It is a great technique for covering up flaws.
Here’s a quick crackle tutorial:
Step 1.
Basecoat your piece. This will be the color of your cracks.
On this buffet, the basecoat/crack color is the stain.
Step 2.
When your basecoat is completely dry, apply a “crackling medium”.
HINT: Don’t waste money on expensive “crackling mediums”.
We use plain ol’ white glue around here.
Step 3.
Brush on the glue. The thicker the glue, the thicker your cracks will be. Pounce the glue in areas where you want the cracks to be really thick and dramatic.
Step 4.
Wait a few minutes for the glue to dry to the point where it is tacky/sticky, but not completely dry.
HINT: If you aren’t sure if your glue is ready to apply the second color of paint, it is better to err on the side of the glue being too wet than too dry.
Step 5.
Apply your second color of paint over it. Be careful not to agitate the glue by going back and forth over it with your paintbrush. As the paint and glue dry together, the cracks appear.
This buffet is painted in American Paint Company’s Fireworks Red and sealed with APC Dark Wax.
Crackling is a simple technique, but it takes a little practice to make it consistent.
My mom is the Expert Crackler in this operation.
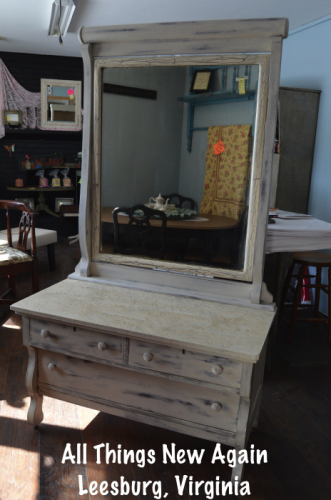
Here’s an article about how she achieved the look on this antique dresser/mirror. The antique dresser is painted with Limoges over Crushed Tea.
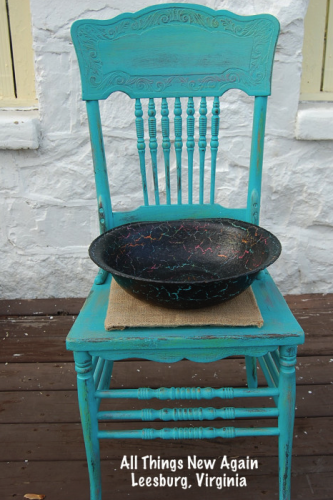
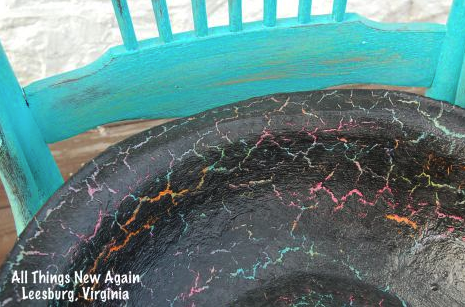
She base coated several bright colors on an old enamel bowl to achieve this rainbow look. Isn’t it cool? The chair is painted with Shoreline. The bowl is done with Cannonball over a bunch of colors: Shoreline, Momma’s Lipstick, Orange Grove and Home Turf.
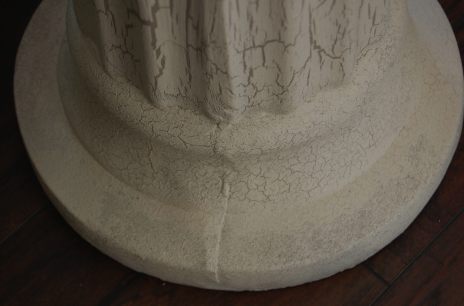
This pedestal is a great example of thick versus thin cracks. It’s painted in Limoges over Sackcloth.
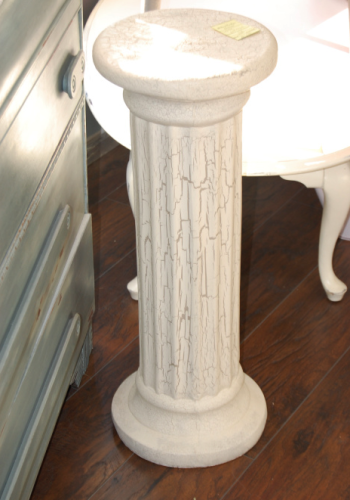
She applied the glue very thick down the sides of the pedestal column for those nice big cracks. Those dainty cracks on the top and the base are where she pounced the glue lightly.
As you can see, you can do a lot with crackling.
By choosing different color combinations, you can make a piece look elegant, rustic or downright funky.
It is a great technique to have in your painter’s bag of tricks—especially when you have an issue that needs to be camouflaged like I did on my buffet.
I’m so happy with the final result—and even more happy that I didn’t give up when all of the other techniques I tried did not work out.

I modified this last Thomas Edison quote for anybody out there who paints furniture and is having a bad day:
“Just because something doesn’t look like how you planned it to look doesn’t mean it isn’t beautiful. Keep trying!”
~ Courtney

We Love to Hear From You