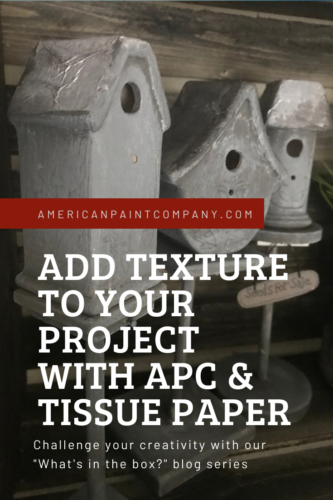
Add Texture to Your Projects with APC & Tissue Paper
What’s in the box?
Challenge Your Creativity
If you’re just joining us this week, WELCOME! We’re happy to have you. Today we’re going to talk about adding texture to your project using APC and tissue paper. But, first, we wanted to explain a little bit about “What’s in the Box?”. It is pretty much our favourite series at the moment. We’re enjoying playing with all APC has to offer and we’re having even more fun telling you all about it. To give you a brief explanation of what “What’s in the Box?” is all about, picture a surprise or mystery bag from your favourite retailer. In said bag you find some pretty spectacular items, albeit, maybe something you would have never really considered buying for yourself, but after you have it in your possession, you are determined to coordinate it with everything you own. “What’s in the box?” is basically the same thing – DIY style. Each week, we fill a box full of 3-4 APC products, give it to our lucky DIYer, and she sets out to dazzle us with her creativity. Then we write it all up for your education, inspiration, and enjoyment.
Sooo, if you’ve been following along all this time, WELCOME BACK! We have a pretty amazing project to go over with you today and hopefully answer some questions along the way.
What’s in the Box?
This week’s box contained the following amazing APC products. We’ll hope you’ll follow along and make your own beautiful creations using these American Paint Company gems.
Okay. We know what you might be thinking. How is a masterpiece possible with just one paint color and a variety of finishes? That seems kind of dreary, doesn’t it? WRONG! Our lovely artist this week used her imagination and pulled in some extra techniques to make it all possible. Also, she brought in some spare TISSUE PAPER she had on hand.
Tissue paper is heaven-sent for DIYers! Looking for a little extra something-something for your projects? Give tissue paper a try. It’s so cheap, you could steal it and nobody would care. Isn’t that every DIYer’s dream? (Okay, maybe not the stealing part but the cheap part). It also comes in a variety of colors and patterns to accommodate any style (some with gold glitter! Doesn’t get better than that!). And with APC, it can be applied in various decoupage-y ways, resulting in different outcomes and textures.
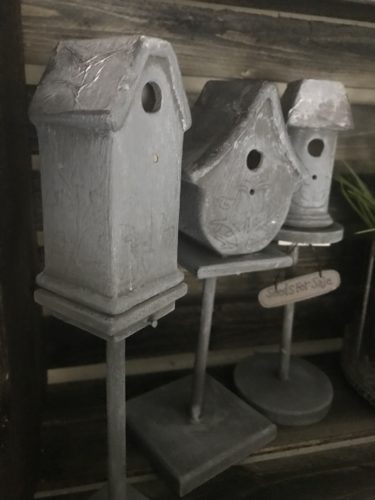
In this post and project, we’ll cover how our talented artist repurposed some cute little birdhouses to suit her décor preferences while using tissue paper to add some texture.
Step 1
Firstly, she painted the birdhouses with Freedom Road. And let the paint dry completely.
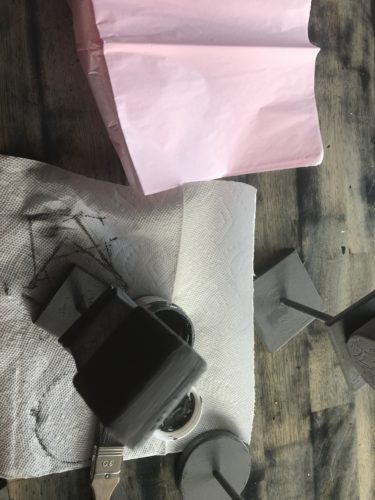
Step 2
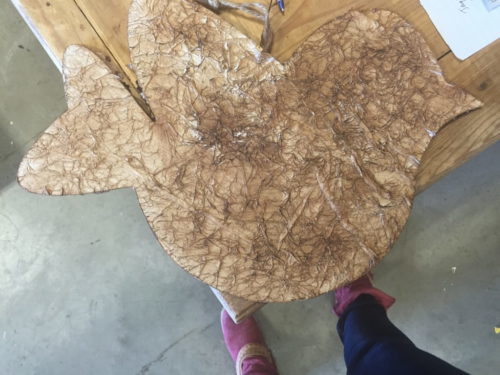
Rip the tissue paper to the appropriate size. Obviously you could cut the tissue paper to the size to suit your needs, or even to match the texture or finish you want. A ripped edge gives your project just that – an edge. In this project, the finished look was for more character and texture than a polished, refined finish.

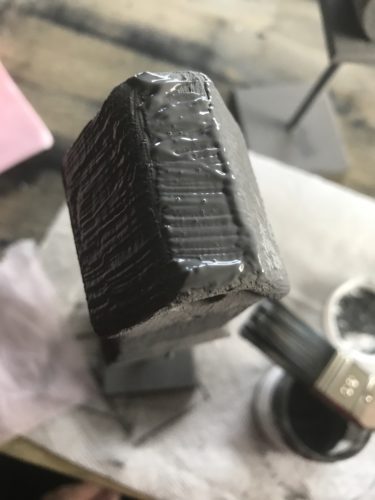
Step 3
Apply a generous amount of paint to the area where you want to add the tissue paper. Notice that she wasn’t shy about it. However, it should be noted that you would probably want a little less paint if you were to want a totally smooth polished look as opposed to a textured one.
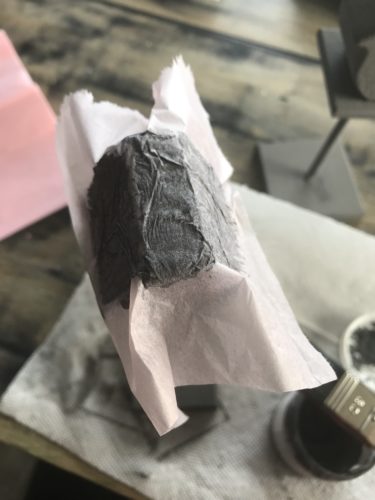
Step 4
Apply tissue paper to area and lightly press down. She wasn’t going for perfect here. She added the tissue paper in a very casual way, allowing the creases and wrinkles to define her piece. You may choose to iron out the wrinkles and apply the tissue paper smoothly. This would more likely be the case if you were adding tissue paper with a certain pattern that you’d want to preserve.
Step 5
After the paint/tissue has completely dried, rip off the extra tissue paper. Note, the tissue paper must be totally and completely dried or you might end up shifting your paper in directions you might not want. Or ripping the paper off completely. Also note that if you are applying the tissue paper in a more orderly fashion (smooth finish, no bubbles) you might consider cutting off the excess paper with a utility knife or Exacto-knife. Ripping off the paper gives that edgy characteristic edge.

Step 6
Apply the finish! A tiny dab of the black glaze was applied to the roofs. Then the white wax was applied to the whole. The wax on the rooftops gave the birdhouses a type of faux leather feel. And as the wax leaves a matte finish, the paper is left feeling soft and buttery, like your favourite leather jacket, not shiny and stiff like your posh pleather black mini skirt.
Some of our APC community members have tried the tissue paper look as well these are some of the questions that have arisen:
When putting down the tissue paper, does the shiny side go up or face down?
It can go either way. Most tissue paper with patterns will have the vibrant side as the shiny side. You won’t want to put it down when applying. However, when applying a wax finish at the end, the wax shows up better when the shiny side was applied down.
Do you have to wrinkle or crumble up the paper before applying it?
Check out some of the work our retailers have done with tissue paper!
Have a project you’ve done with tissue paper? Let us know and submit your project here today for a chance to win a $100 gift box from APC!

We Love to Hear From You