After searching high and low for the perfect work table for my garage, I gave up and decided it was time to build it myself. 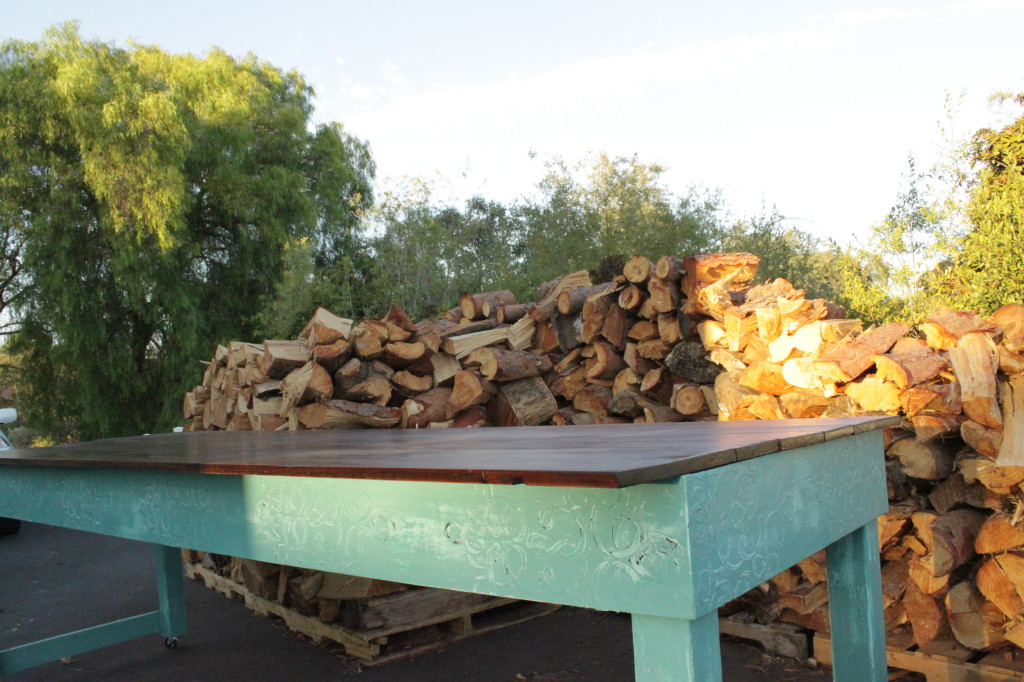 My garage is packed with cool tools and saws that my dad has stocked up with for when he visits. Well, fears of missing fingers and just plain messing up the design, left my visions of building anything a distant thought. After many months of digging through Craigslist with no luck in finding the perfect bench, I decided the time had come for me to fire up the saw and just build it. I wanted to create the perfect workbench that was the right height, length and was on casters. I checked out www.ana-white.com and found plans to build an island. It went together in a snap so I decided to add detail into the side using a stencil and some plaster. Most importantly, I was ready to customize with American Paint Company Products!
My garage is packed with cool tools and saws that my dad has stocked up with for when he visits. Well, fears of missing fingers and just plain messing up the design, left my visions of building anything a distant thought. After many months of digging through Craigslist with no luck in finding the perfect bench, I decided the time had come for me to fire up the saw and just build it. I wanted to create the perfect workbench that was the right height, length and was on casters. I checked out www.ana-white.com and found plans to build an island. It went together in a snap so I decided to add detail into the side using a stencil and some plaster. Most importantly, I was ready to customize with American Paint Company Products! This is how the finishing began. I love to pair similar colors for a two tone effect. Surfboard and Beach glass were the perfect fit.  Step 1:
Step 1:I painted the entire piece with Surfboard and let dry for 3 hours.
Step 2:
After my first coat had completely dried, I gave the entire piece a light sanding with 220 grit sand paper to level out any brush strokes.
Step 3:
Then I painted over Surfboard with a heavy coat of Beach Glass.
I was happy to find that I only needed one coat of each color and “Voila”, awesome coverage! I let the paint dry overnight before the distressing fun began!
Tip: Use a good quality brush to reduce brush strokes
I wanted a little of the Surfboard (the first coat of paint) to come through so I sanded in random areas with a sanding block. 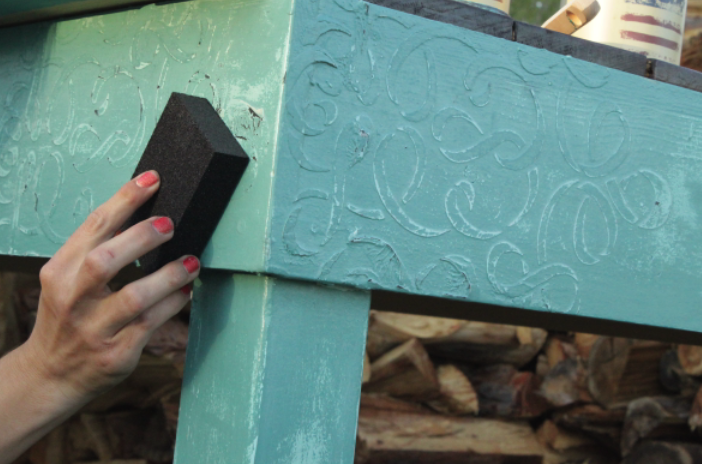 Allowing the piece to dry overnight let the colors really cure so that each one would stand on their own when distressing.
Allowing the piece to dry overnight let the colors really cure so that each one would stand on their own when distressing.Step 4:
Next, it was time to seal my piece. I wiped off all the sanding dust. The Top Coat is amazing and so easy to use! The best part is there are no harmful odors like the typical sealers. I poured a little Top Coat into a bowl and got to work. I like to use a sponge brush when I apply Top Coat. The sponge brush gives a nice even finish.
Don’t you just love the Surfboard peaking through the Beach Glass?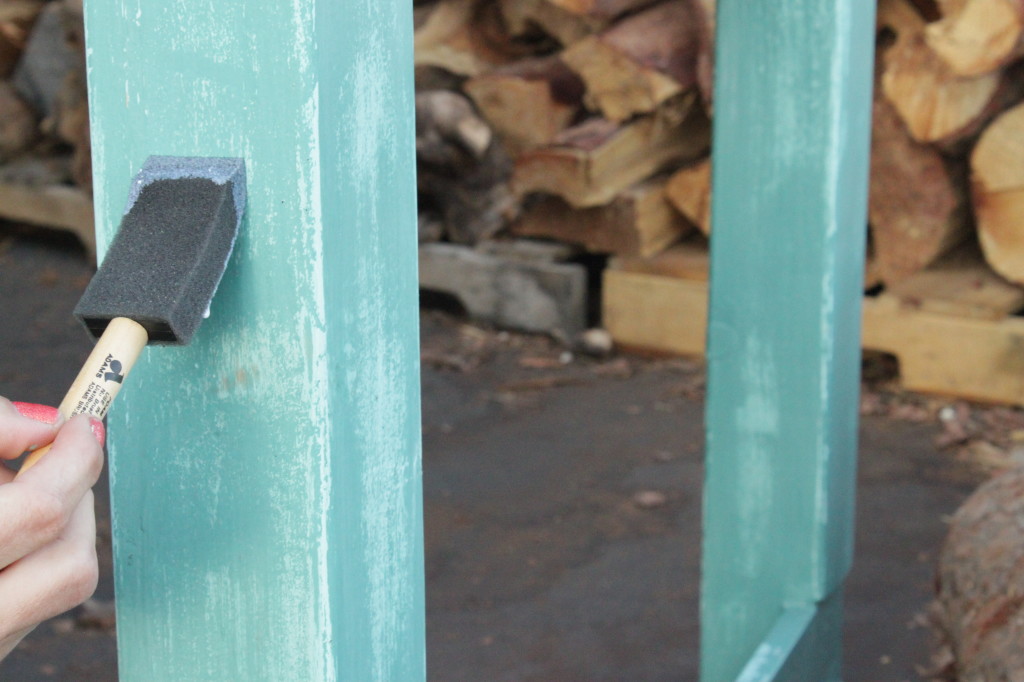
Step 5:
Once the Top Coat had dried for a few hours, I buffed the entire piece with a crumpled up paper sack. 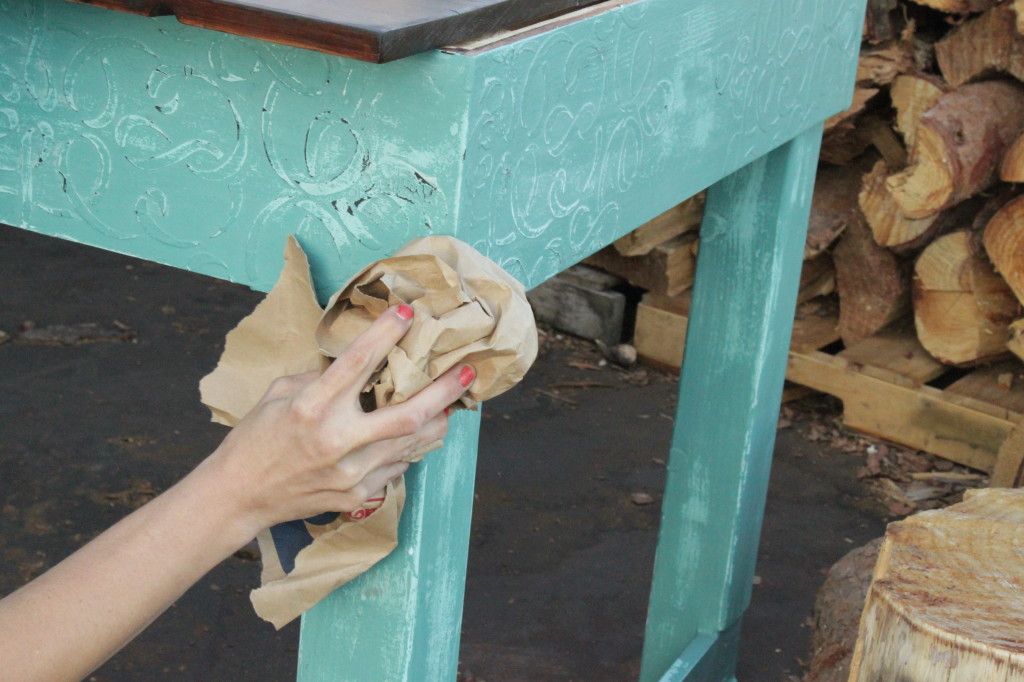 Overall I am pretty happy with how this turned out. I ended up with a 10 foot long work station that I can use for big projects that need room to spread out. I love the beachy feel of this table!
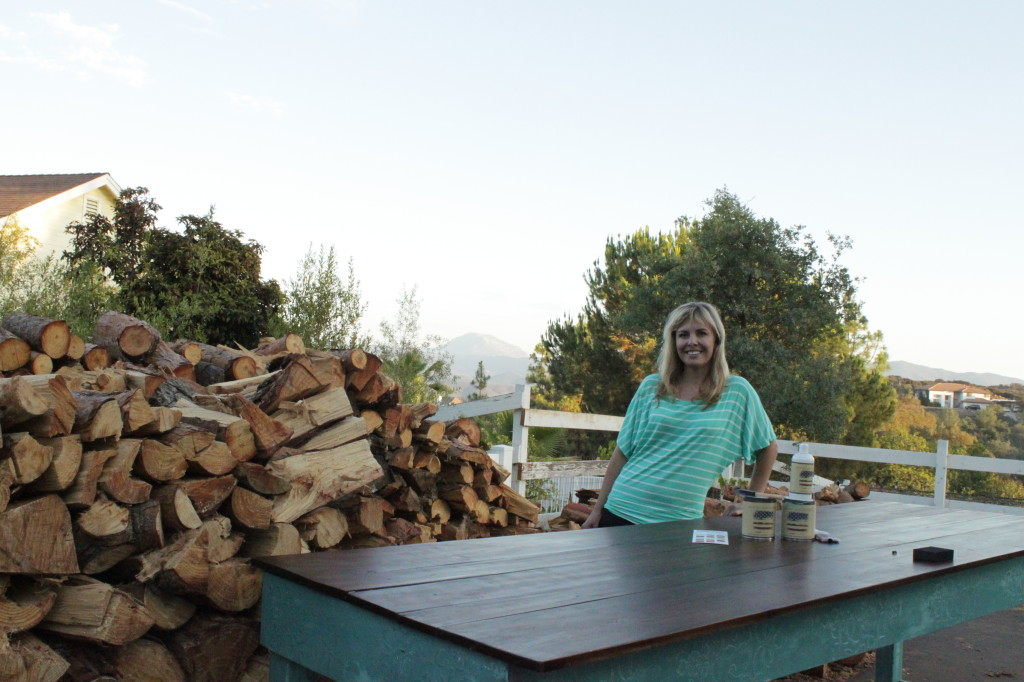
Overall I am pretty happy with how this turned out. I ended up with a 10 foot long work station that I can use for big projects that need room to spread out. I love the beachy feel of this table!Post courtesy of Monica White

I love the color combo and the end results. Thanks for sharing this project with us! Jen of Ivy Lane
Lovely, I’ll bet your dad is proud.
Almost too pretty work on!
Do you mean you stenciled with plaster? plaster of paris? I haven’t tried that. Wish you had shown details of that
That’s the coolest work table ever!!
Love!
That’s a gorgeous work table! The colors are great together!
Oh I love it!
So awesome!
Great blog post.