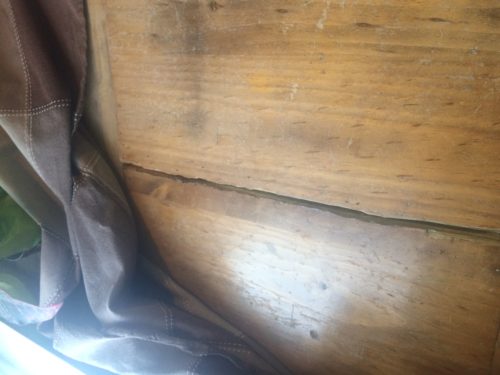
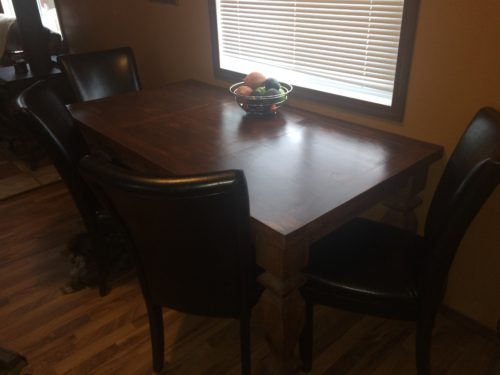
Years ago, Heidi Martindale purchased an antique pine kitchen table from her parents, who owned a furniture store. Heidi picked up the piece at a discounted price, as the table was damaged. As the years went on and the imperfections became more apparent, Heidi covered the old, antique piece of furniture with tablecloths to hide its flaws. Recently, she decided she wanted to replace it with a table she could proudly display and wouldn’t have to cover.
Just before she was about to give up on the antique table, Heidi was invited to an APC 101 Class–American Paint Company’s beginner level class. Working with the paints and glazes inspired Heidi to “try one last thing” to salvage the table.
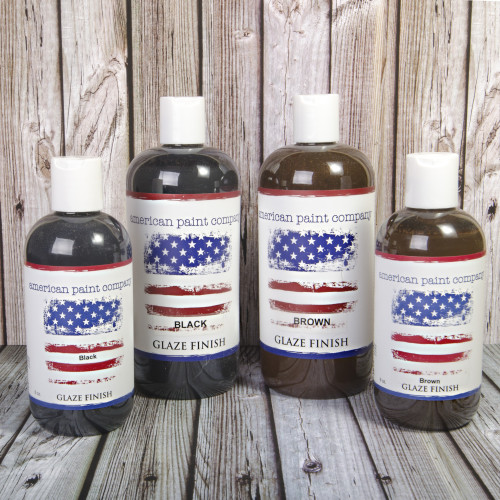
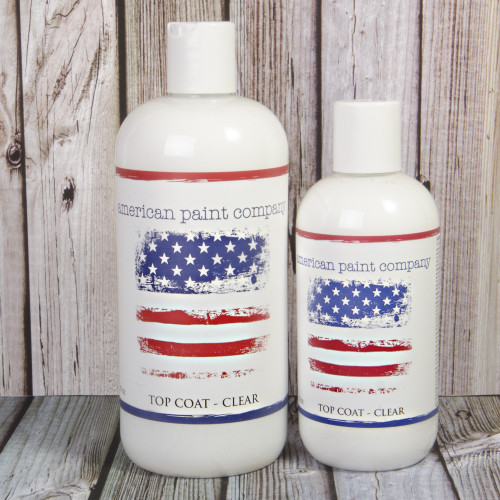
She opted to use American Paint Company’s Brown Glaze and Top Coat for the project. For this week’s “Share Your Project” post, we’re sharing Heidi’s simple steps to transform an old, damaged kitchen table into a modern masterpiece.
Transform an Old, Outdated Furniture Piece into a Modern Masterpiece
Step 1: Sand the damaged piece first
Heidi sanded the top of the table, as the wood had cracked and shifted in places. Sanding is not always necessary for your paint projects – but because Heidi wasn’t going to use any paint for her project, she decided to sand the table first to smooth out the imperfections.
Tip: Medium grit sandpaper is a good choice for removing scratches. Fine grits are ideal for a light sanding before applying the Glaze.
Step 2: Apply the Glaze
Many times, people use American Paint Company paint products before sealing the project and applying the Glaze.
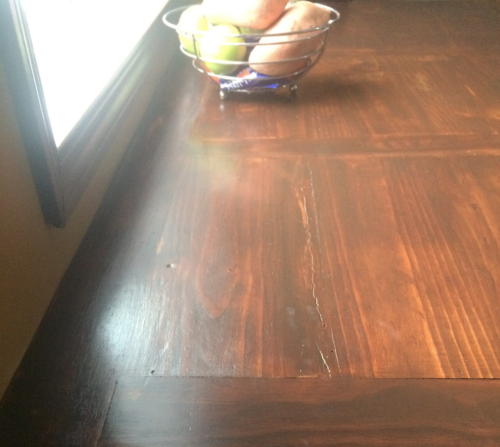
Heidi, however, decided to apply two coats of the Glaze directly to the wood for a gorgeous stain effect. American Paint Company’s Glaze is akin to a furniture stain, but because it’s All-Natural, the Glaze has no offensive odor, unlike traditional stains. Because of this, there is no need to move furniture outdoors to complete the Glaze process. It can be safely used indoors, further simplifying the process!
Step 3: Work the Glaze into the piece with a warm cloth
After applying two coats of Glaze, Heidi used a damp, warm cloth to rub the color lighter in places. She explained that this technique made the “character of the table pop.”
We recommend applying a layer of Clear Top Coat sealer first, before using the Glaze finish. This keeps the Glaze from soaking in too fast, and gives you more ‘open time’ to work with the Glaze and get the look you’re trying to achieve.
Step 4: Seal the deal
Next, Heidi sealed the piece of furniture with four coats of Clear Top Coat.
For a durable finish, apply several light coats with a fine brush or foam brush.
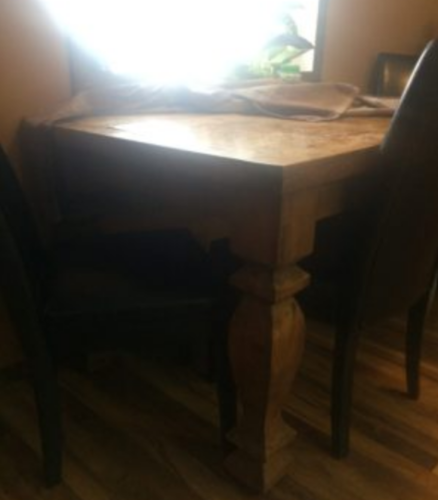
The result? A stunning piece that is unrecognizable from its previously damaged state.
Heidi managed to not only salvage the antique pine table, but transform it into a pride-worthy piece she will never have to cover again.
By: Kelly Spears
Share your project pictures with us and you could win a $100 Gift Box! We want to showcase your projects of love. Use the Project Submission tool on our site today and you could be our next feature. You’ll automatically be entered to win the monthly Gift Box!
For social media posts, use #americanpaintcompany

We Love to Hear From You