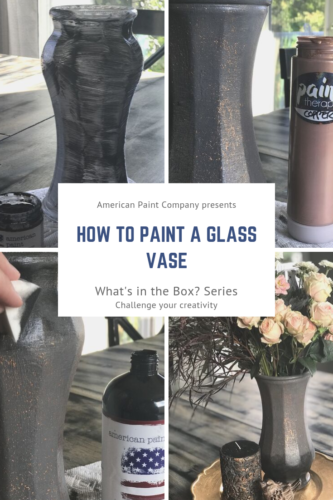
 How to Paint a Glass Vase
What’s in the Box? Series
Challenge Your Creativity
Hello everyone! If you’re new to the What’s in the Box? Series, check out this post about what it’s all about. If you are here to see the latest project inspired by our little What’s in the Box game, read on! We’ll cover how to paint a glass vase, some important tips and what the products in her box are capable of.
In this week’s box, we included the following:
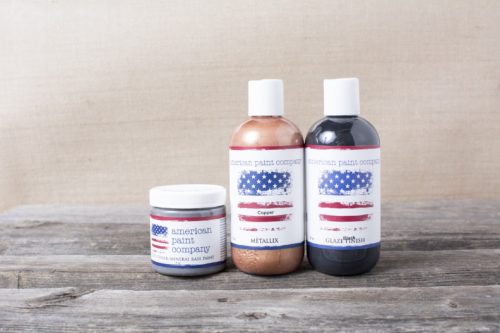
- Freedom Road Clay, Chalk, Mineral Paint
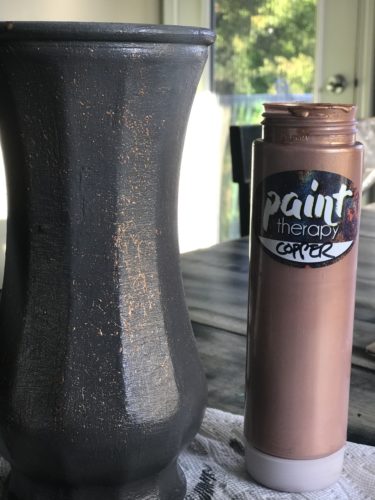
- Copper Metallix
- Black Glaze
- Top Coat
And our lovely painter created the most beautiful vase! Part gothic, part chic, very much WOW!
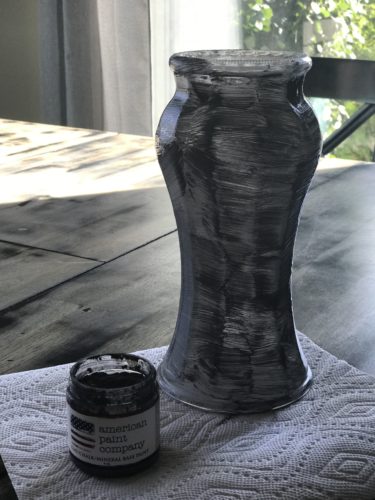
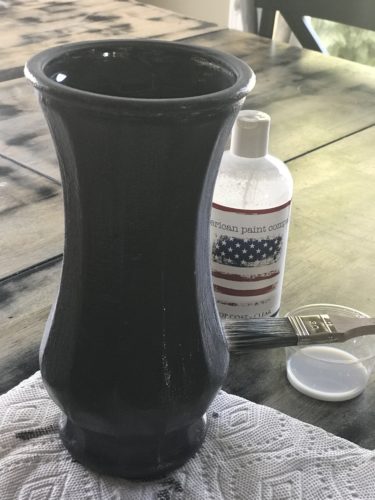
If you’re just getting started with painting glass, there are a few very important things to note. First off, since glass is a slippery surface, you’ll have to paint around 3 thin layers. It’s important to let the first thin layer dry COMPLETELY before moving on to the next layers. If not, you might end up taking off paint rather than applying more when you add your second layer. Also remember that glass projects must be sealed! By sealing your project, you ensure that none of your hard work gets scratched off or distressed unintentionally.
Paint & Seal
Alright, so let’s get started! The first thing accomplished was completely painting and covering the glass vase with 1, 2, 3 thin layers of paint. Notice that the first layer doesn’t look fantastic. But by the last layer, none of the glass will show through. Next, as stated above, make sure you seal your glass projects!
Finish & Embellish
Next, our featured painter used the copper metallix paint to add a little extra va va voom! Metallix paint can be used in variety of ways. It goes on translucent and thin, allowing the base paint to show through. It provides a nice shimmer. If you want a more bold shine, adding on several layers will definitely do the trick. Or you can do what was done in this project. Splatter it! Splattering and splashing the metallix paint on gives vivid, yet sparingly. And it provides a tasteful finish.
Lastly, Black Glaze was applied. Glaze is often applied to add an aged look, or to stain wood projects. In this case, it was only applied to the bottom of the vase to add a more dramatic effect. It was applied with a sponge, and dabbed on. Then of course, allowed to dry (which happens super quickly!).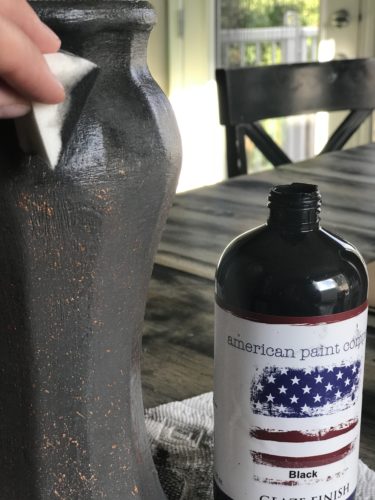
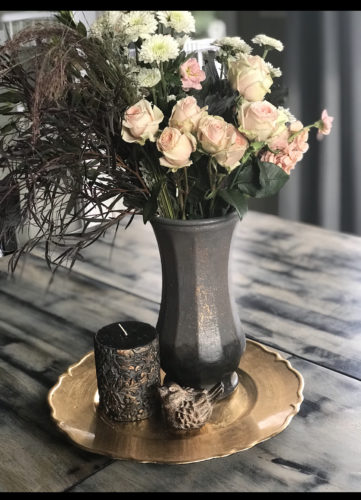
And voila! We got ourselves a new beautiful glass vase with character and charm. Didn’t she do such a fantastic job!?
Now it’s your turn! Try out the same products used here, or check out next week to see what mystery products were used and how!

We Love to Hear From You