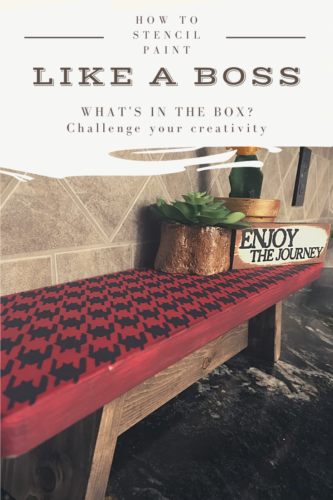
How to Stencil Paint Like a Boss with APC
What’s in the Box? Series
Challenge Your Creativity
Welcome to this week’s edition of “What’s in the Box”! If you’ve been following along, you probably already understand the rules of the series and are on the edge of your seat waiting for each weekly post! If you’re new around here, check out this post here to read up about the series and how you can play along!
This week, the box o’ products consisted of a special decorative tool! STENCILS! Check out what else our painter had to work with:
- Fireworks Red Paint
- Cannonball Paint
- Black Wax
- Stencils
Now, we know what you might be thinking…Stencils? Stencils are hard. We admit that the thought of using stencils on a decor project may be daunting. Even the most experienced painter can have issues with stencils. However, stencils can also be a lot of fun, add the extra touch of magic to your piece, and add sophistication that try as we might, will never achieve freehand. The key to painting well with stencils is this: Be willing to mess up!
So, let’s see what magic occurred with this week’s box!
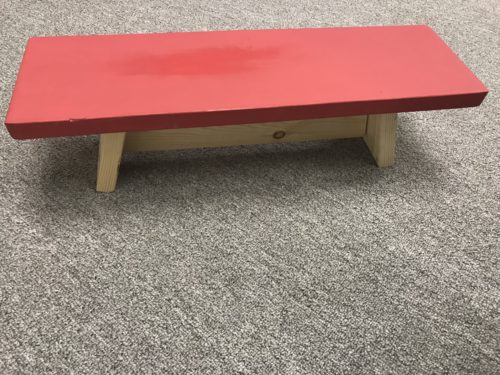
Step 1 – Paint!
First step, as usual was painting. Using the Fireworks Red, our painter only painted the top of her decor stool. We love seeing how preferences come out in simple projects. You might have painted the whole thing in one color or chosen a mismatch palette to decorate your stool.
Stencilling is an art
Next, she place the stencil on the top of her stool. Note the painter’s tape used to hold the stencil in place.
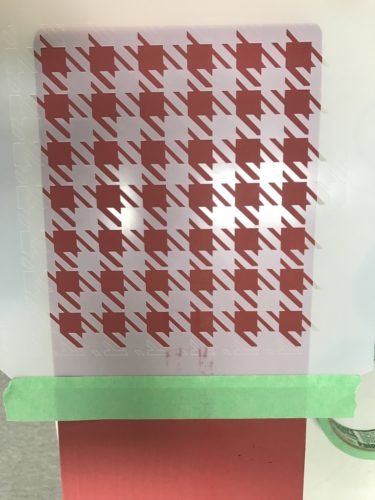
The cannonball paint was then added in very thin layers to minimize bleed.
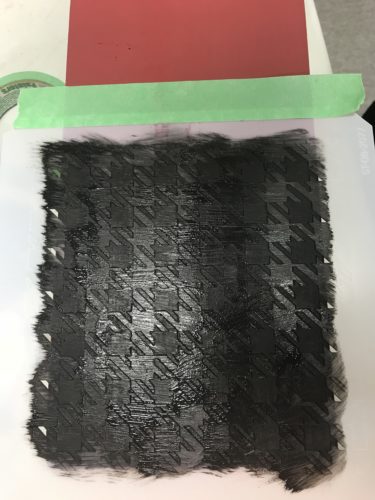
Quick! Remove the stencil while the paint is still dry to avoid taking off any of the pattern.
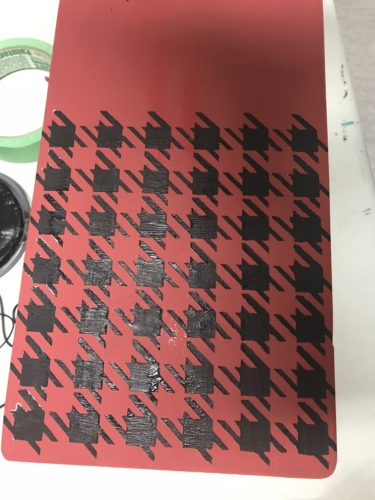
Ta-da! After finishing up with the stencil, notice that there was some bleed-through. But, it’s all good! We love imperfections here at APC. And realize there are ways to touch up the job.
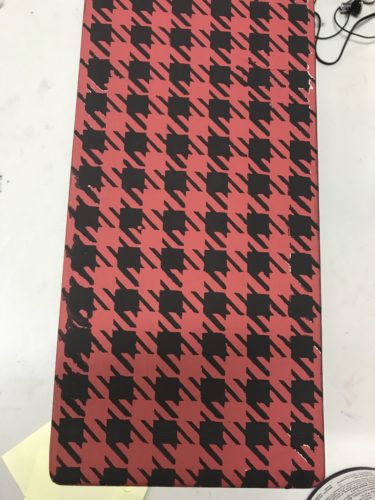
- Sand off the excess run off of the stencil.
- Grab a Q-Tip, and clean up the bleed while the paint is still wet. Or you can wet the Q-Tip and remove gently with water.
Sand & Wax
The final steps are all about embellishments! Our painter sanded the edges of the stool, offering some age to the piece otherwise not present. 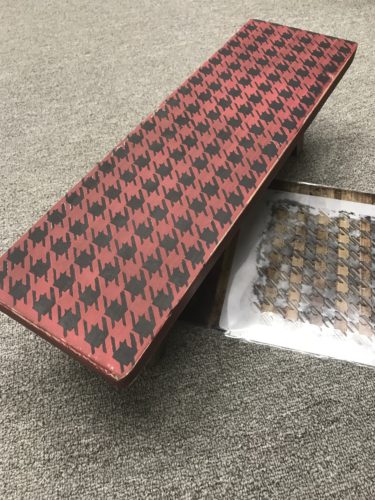
To further age the piece, she applied the black Vintage Antiquing Wax to the top of the stool, giving a darker, more serious look. She also applied the black wax to the previously untouched bottom of the stool. Applying the wax to the bare wood gives it a stained look (without the nasty smells and chemicals!). 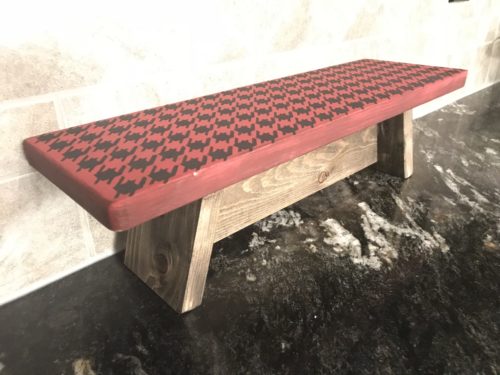 After all her efforts and montage of techniques, she was left with this beautiful little stool! Didn’t she do a wonderful job? And didn’t she handle that stencil paint like a boss?
What would you create with the contents of this week’s boss? Be a creator and send us what you’ve made! We’d love to see it!
If you need some more inspiration, or would like to test out products from a different box, check out some of our other What’s in the Box? Series posts. Last week consisted of a wonderful tutorial on Venetian Plaster. Check it out here.

We Love to Hear From You