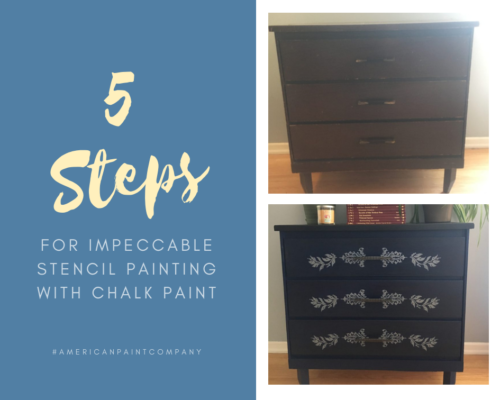
5 Steps for Impeccable Stencil Painting with Chalk Paint
There are many benefits to painting stencils with chalk, clay, mineral base paints. For starters, American Paint Company offers 46 colors! You’re sure to find a color that will make that stencilled pattern really stand out. Secondly, we’re sure you’ve experienced frustration when your paint has bled through the stencil and you’ve had to repaint your piece to fix it. With chalk paint, just wipe it clean with some water and start anew! In this post, we’ll show you how our featured DIYer used chalk paints to paint on a beautiful stencilled pattern on some dresser drawers as well as share 5 steps for impeccable stencil painting with chalk paint!
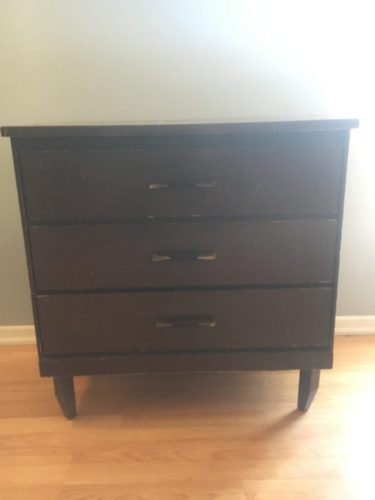
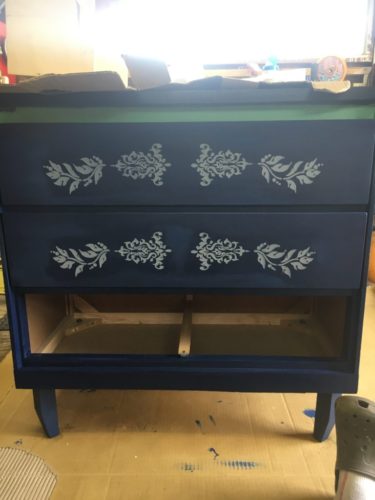
Chantelle started with a pretty old dresser that was passed down to her husband by his mother. It’s at least 30 years old! It was beat up and a bit scratched so she sanded down the piece, applied two coats of Starry Night that she picked up at Buds and Bloom. Chantelle then sealed it and added some black glaze on top to get a nice dark finish to match her current decor. She sealed her piece again and finally was ready to add on those stencils!
5 Steps for Impeccable Stencil Painting
- Just like Chantelle, seal your project first. Doing so gives you a fresh, smooth canvas to work with and helps protect your piece in case you might need to clean up little mistakes or bleeds from the stencil.
- Securely fasten your stencil to your piece. Using painter’s tape, tape down all around the edges of the stencil. You may be tempted to freehand it if it’s a small stencil, but don’t fall into that trap! By securing your stencil, small slips can be completely avoided, even if you have the steadiest of hands.
- Use a foam roller, make-up sponge, or stencil brush to apply the paint. With stencil painting, less paint is better, so make sure you “off-load” your brush before painting. “Off-load” means removing extra paint off the brush and by so doing, redistributing it on the brush more evenly.
- Remove the stencil before the paint dries! American Paint Company paint dries super fast, so removing the stencil while the paint is still wet is key to perfect patterns so the paint doesn’t have time to bond to the stencil.
- Seal your project again. This is the final step of pretty much everything you do regarding chalk paint. Protect those pretty little patterns with Top Coat or wax.
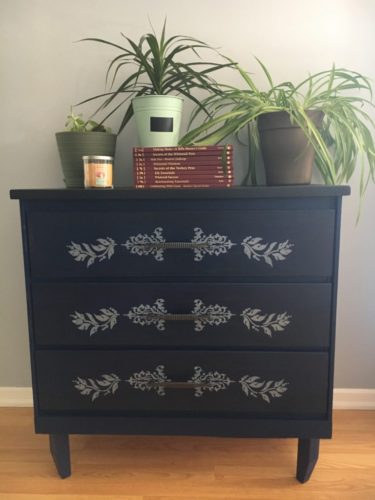
Didn’t she do a fantastic job? Kudos to Chantelle on her piece and congrats on winning our project submission draw!

We Love to Hear From You