I checked out a beautiful antique bedroom set over the 4th of July and was immediately drawn to the beautiful lines and details of the furniture.
The entire set was very solid and well cared for ~ just needed a little TLC to give it new life.
Cathy and I teamed up to get this bedroom set knocked out.
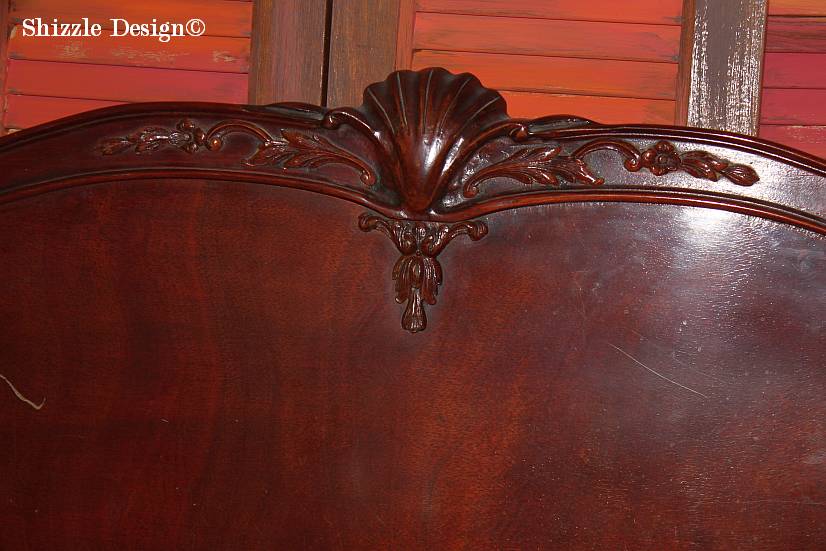
The first thing we did was a bleed thru test because we were dealing with solid mahogany. We placed a damp paper towel over the finish to see if any stain or finish wood leach up through it.
It wasn’t even a minute, more like seconds and it had already turned orange/red meaning we had a bleeder!
No worries, we are always stocked with Zinnser’s Clear Shellac for just these occasions.
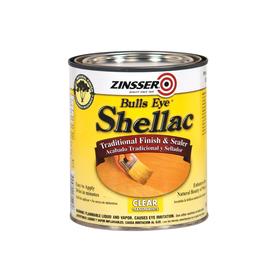
We slapped on a quick coat to form a barrier before we started painting. Notice I said quick coat. It was the end of a long, hot day and the shellac dried incredibly fast.
Not taking the time to add a second coat proved to be a big mistake!
You don’t always need two coats if you get it covered well enough with one, but to be on the safe side, it’s best to apply two coats so you catch any spots you may have missed on the first swipe.
We painted up several sample boards to see which color we wanted underneath and decided on Dollar Bill from American Paint Company. It’s a beautiful smoky blue /gray.
The paint went on beautifully but we had a LOT of pieces to cover!
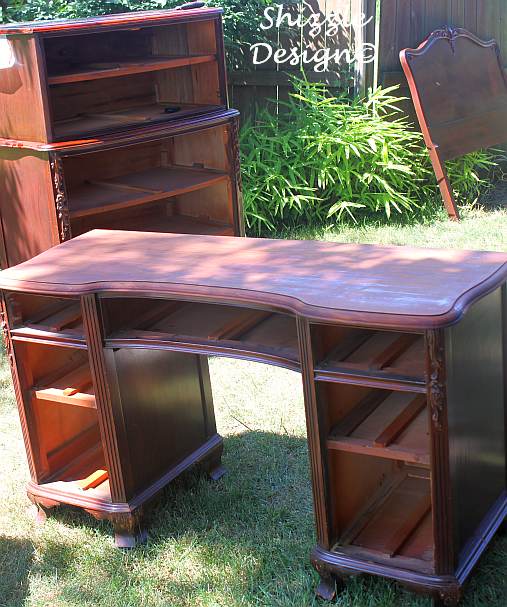
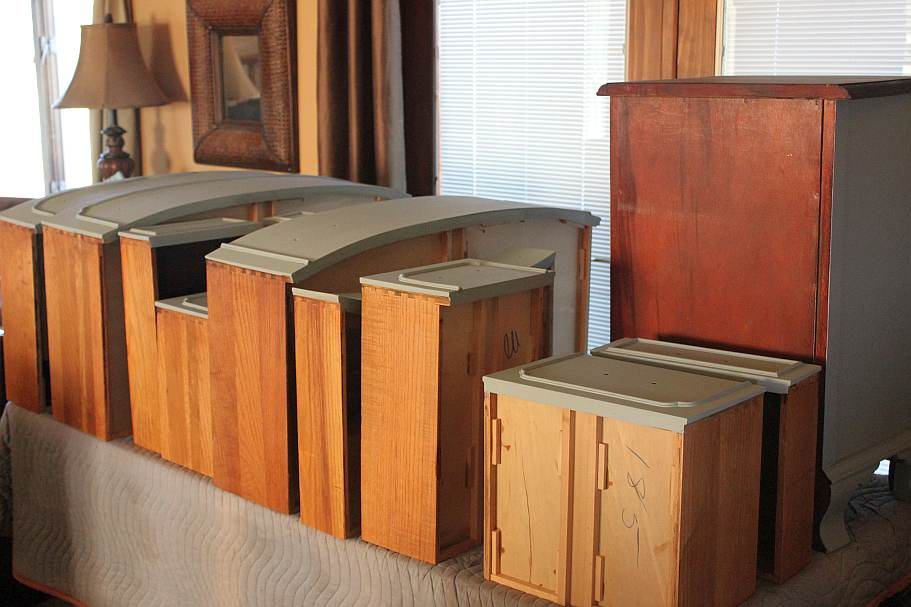
Furniture was sprawled from my living room to the dining room, garage and onto the deck.
Everything was moving along as nice as can be until we started applying the white over it. That’s when we started noticing the tiniest specks of reddish orange. Oh no!! They were too faint for me to even capture with my camera but it was a red flag that we needed more of a barrier over that darn mahogany. Thank goodness it wasn’t everywhere!! We applied another coat of clear shellac, really taking our time to coat the surface well.
Lesson learned!
If you rush through the application of the shellac, it may not cover perfectly.
I’m guessing it was drying so fast outdoors or that I was brushing so fast that I created tiny bubbles which later popped.
We planned to use APC’s Home Plate for the white, but decided later that we really wanted a creamier color. Cath pushed up her sleeves and started dumping, like only a true mixologist can ~ lol She added some Heaven’s Light and Rushmore to the Home Plate which created a very pretty cream color.
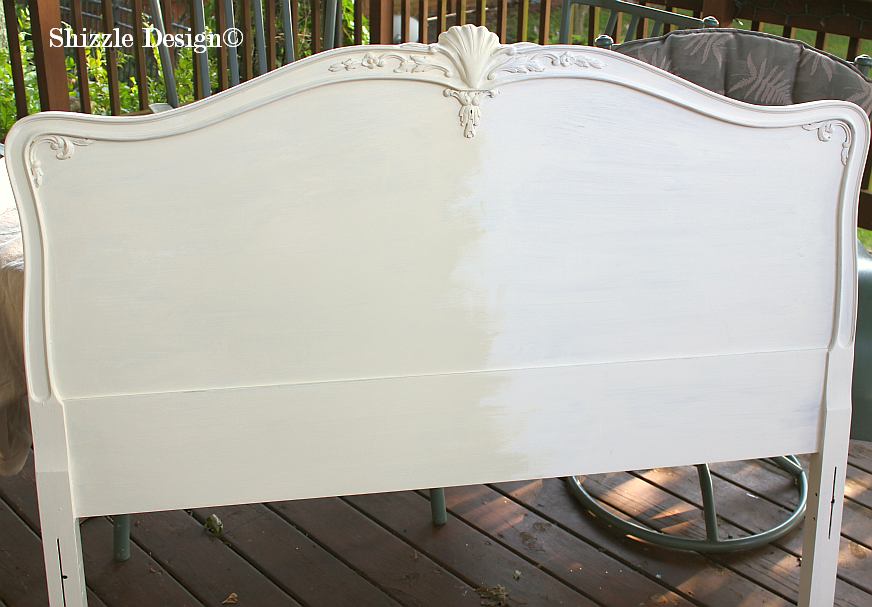
See the difference between the custom color on the left and APC’s Home Plate on the right? That’s the creaminess we came up with, well ~ not me, Cathy did and I love it!
Cathy and I tag teamed the distressing ~ I blasted through certain areas with my mouse sander to cut through to the base coat of Dollar Bill then exposed some of the wood. Cathy followed behind fine tuning everything with her keen eye for details.
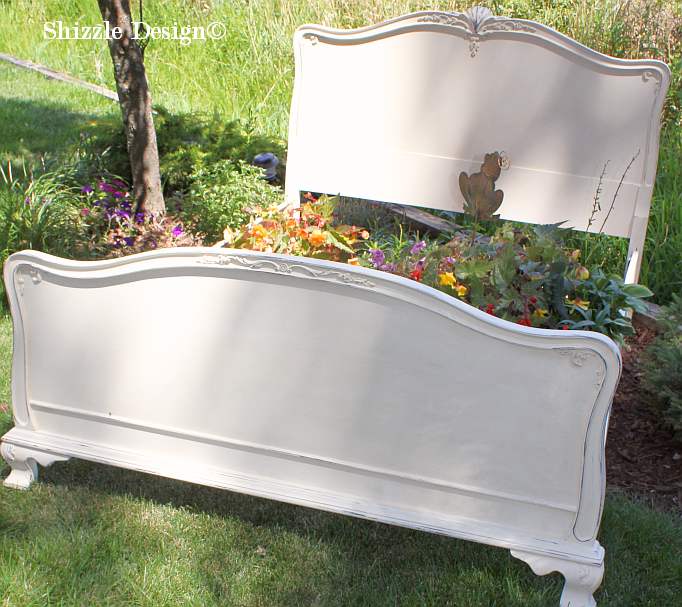
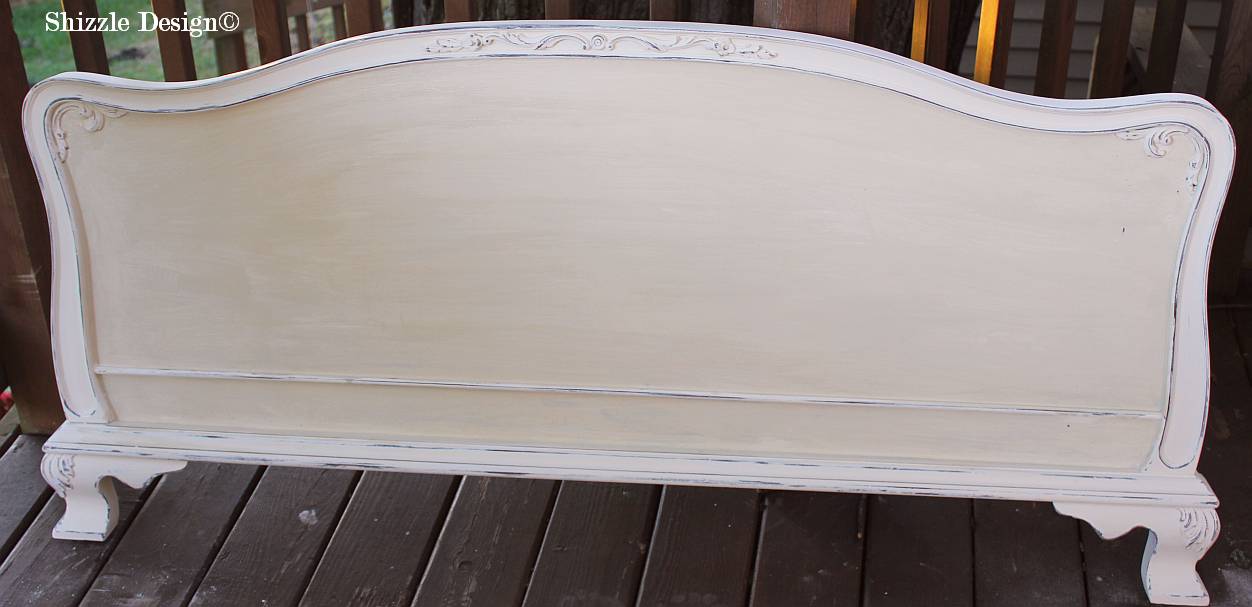
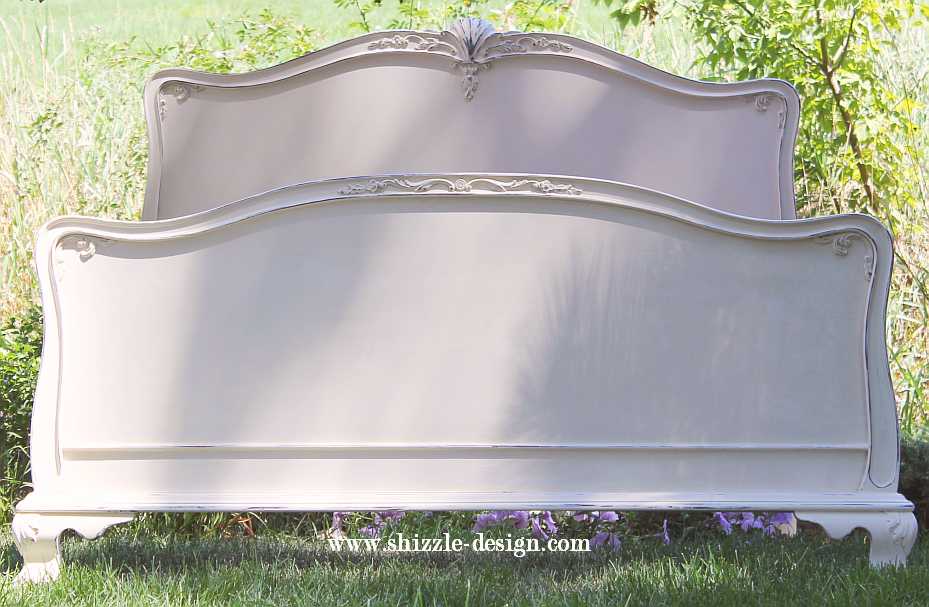
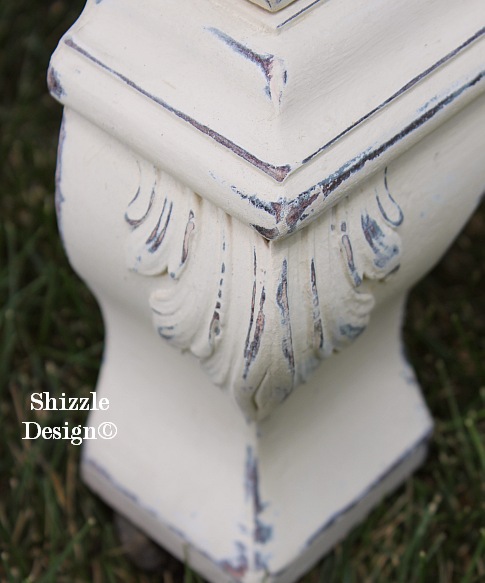
Here’s a close up of the foot board.
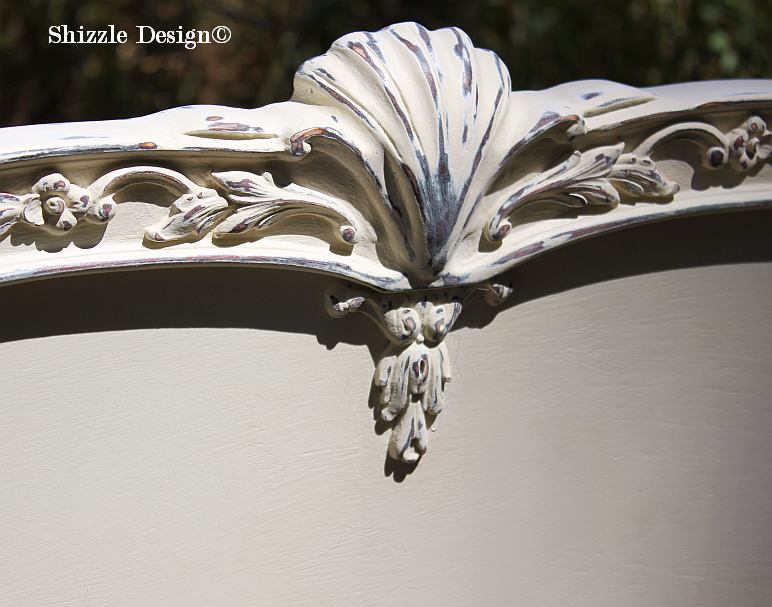
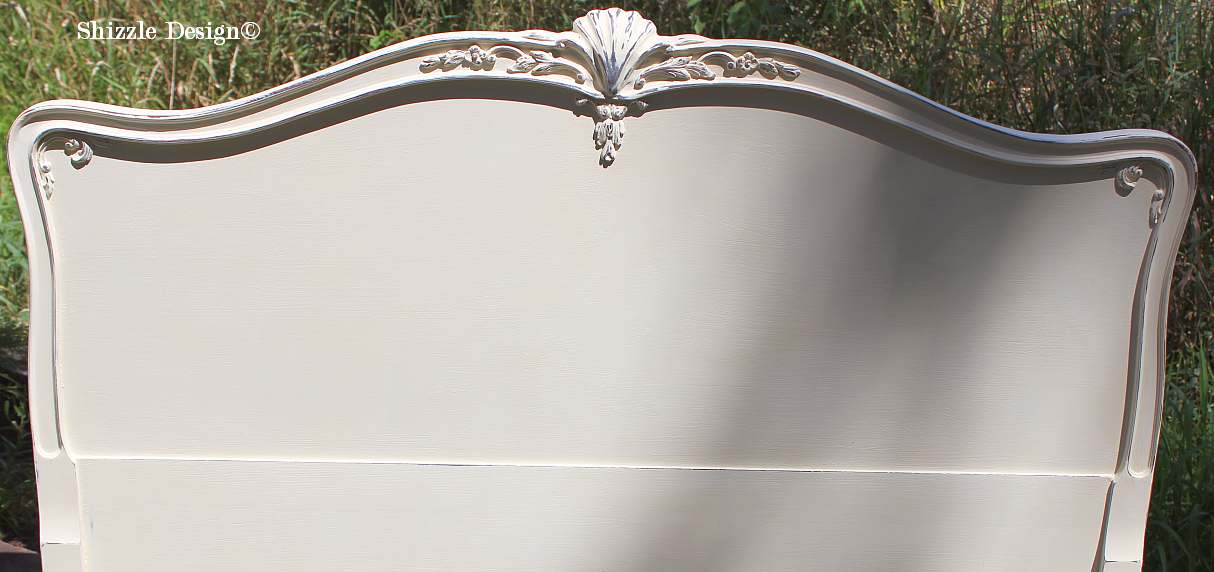
…and I especially love the detail on the headboard!
The creamy color shows up best in this shot.
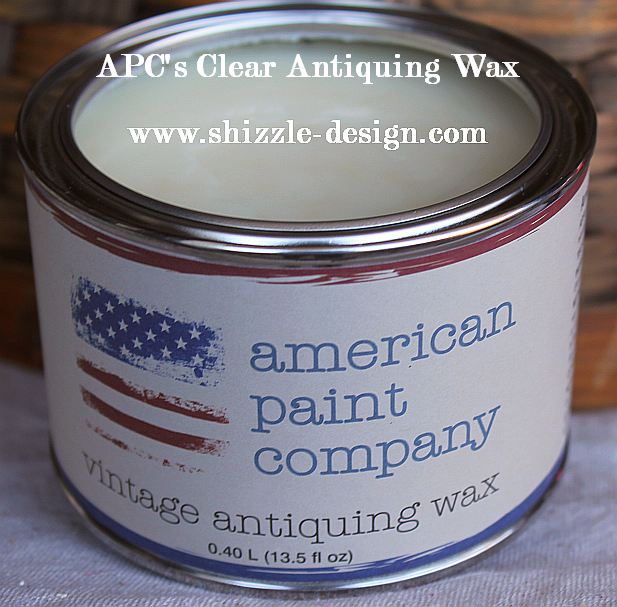
We sealed the entire bedroom set with APC’s Clear Antiquing Wax
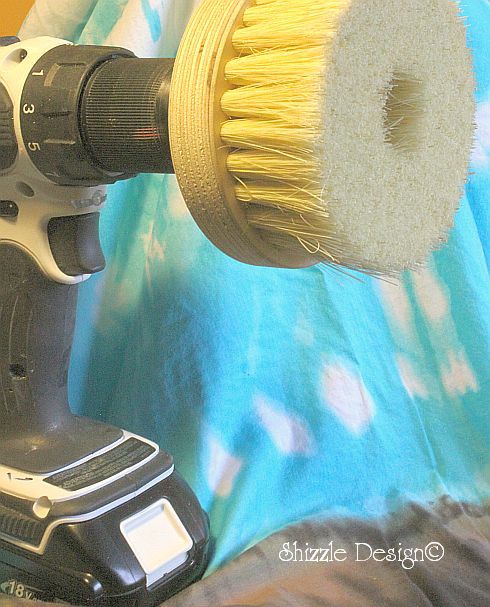
…then buffed everything to a beautiful finish using our drill buffing brush.
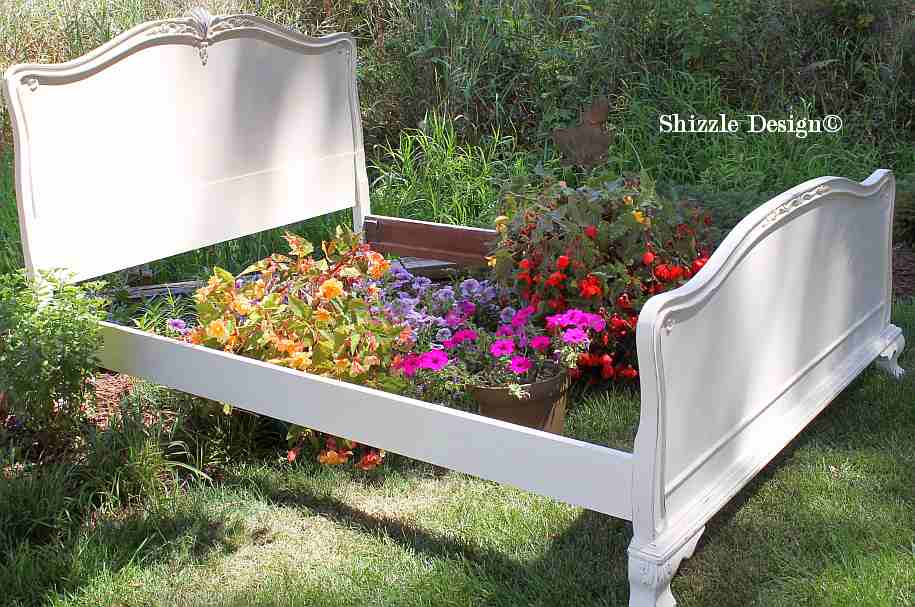
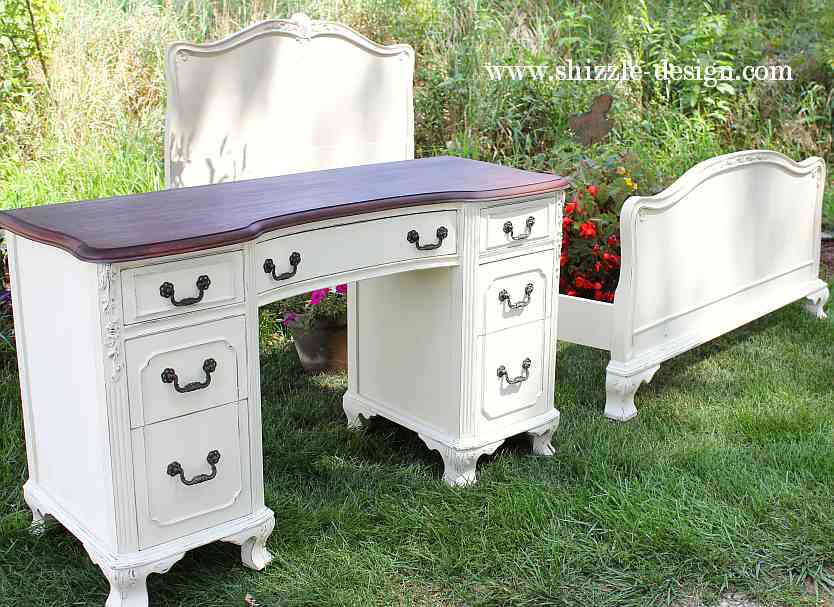
Here she is in all her splendor!
A hui hou!! Shelly




Thanks for the feature!! Have a great weekend ~ Shelly
I am in the middle of a learning situation right now and could use advice. I am doing my first mahogany piece. I used 2 coats of gray chalk paint and it covered like a dream. it wasn’t until I put the wax on that the bleeding started. luckily I started with the rails and they could be covered if necessary. Understandably it is too late to do a clear primer step. any advice? would a clear matte varnish work better than wax?